Showing posts with label urban decay. Show all posts

Thursday, February 6, 2014

Valentine's Look Using Urban Decay's Naked3 Palette

I'll be honest...I hate Valentine's Day. It has nothing to do with a bitter breakup or a bad experience. I simply believe this "holiday" puts a lot of unnecessary pressure on guys to find a perfect gift or special reservations and gives girls unrealistic expectations of a magical, romantic evening on Valentine's Day. I also hate boxes of chocolate. They are nasty! I'm one of the only people in the world who loves the coconut chocolates. Growing up, my mom and sisters saved their coconut chocolates for me, and even though they had been squished to reveal the inside, I happily traded my unwanted chocolates for these delicious creations. Flowers can be nice. The thing is...these are things that should happen throughout the year or the relationship. Not just because it's a holiday marked in the calendar.
**Note to guys: It's much better to handwrite a note or letter to your special girl than pick up a cheesy Hallmark card last minute and a stuffed animal. Definitely no stuffed animals!!! Unless your date is five. Then that would be acceptable and most likely preferred.

However, being a makeup junkie, this holiday gives me inspiration to create new looks. I came up with this tonight, and loved the finished look. I used only shades from the Urban Decay Naked3 palette. You can read my full review here.

What you need:
  • Naked3 palette (or similar colors...the idea here is the placement of the shadows and the warm, rosy tones in the shades)-I used Buzz, Nooner, and Blackheart
  • Shadow primer-I used Urban Decay's Primer Potion
  • Liquid or gel liner in black-I used the L'Oreal felt tip Slim Liner
  • Pencil liner in black-I used Nars Via Veneto
  • Mascara-I used L'Oreal Voluminous Million Lashes Excess
  • Pink blush- I used Nars Deep Throat
  • Pale pink lipstick- I used MAC Angel
  • Highlighter- I used Benefit's Watts Up
What you do:
Start by sweeping Buzz all over the lid.


Use Nooner in the crease. Focus the color on the outer half of the lid and blend along the entire crease. Using the color left on the brush or with a pencil brush, sweep this color along the bottom lash line.


Pick up a tiny bit of Blackheart on your brush. A little of this color goes a long way!! Place this color ONLY on the very outer corner of the lid. Do not bring the color into the crease. Blend out. Using a liner brush, line just the outer third of the lower lash line with Blackheart.
 
 
Line the upper lash line with the liquid or gel liner. I chose to wing it out, but you don't have to do this if you prefer a straight line.
 
 
Using the pencil liner, line your water line on the bottom only. You can line all the way around if you like.


Add loads of mascara. Focus on the outer and middle lashes. Next time I will probably add single false lashes to make them look fuller.


Here is the full finished look. I kept blush neutral with Nars Deep Throat and added a highlight along my cheekbones with Benefit's Watts Up. For lips, I chose a neutral pale pink with MAC's lipstick in Angel.


I hope you like this look! Let me know if you try it for yourself :)

Thursday, January 23, 2014

Why Every Woman Should Wear Red Lipstick at Least Once

Even though I've worn hot pink, deep plum, and bright coral lipsticks, there was something about red that was intimidating to me. When perusing the makeup aisles, I always admired the ruby shades,  but shied away every time. Luckily, a beautiful red lip color made its way to me in my Birchbox last year. I immediately tried it on in the privacy of my bathroom. BAM. I was taken aback by the way it transformed me. No. I'm not being dramatic. Red lipstick will transform you. I fell in love with the way it instantly made me feel glamorous, elegant, and fierce. Red lipstick gives you a confidence you won't understand until you try it for yourself. Even after my moment of discovery, I was still hesitant to wear this beautiful color outside my own home. It was just so...red. Christmas came around, and I figured it was the perfect time to try it out.

Christmas Day! Finally brave enough to wear red lips out of the house :)
 

If you are like me and are reluctant to attempt red lips, try out these tips:

Essentials:

 
  • Stila Stay All Day Liquid Lipstick in Beso (or your favorite red lipstick)
  • Urban Decay 24/7 Concealer Pencil (or your favorite concealer)


What to do:
1. Outline your lips with concealer.
2. Blend this line out very well. This helps keep the color from bleeding and makes a cleaner line for the color.
3. Fill it in! Take your time and do your best to follow your natural lip lines. If you get a little out of the lines, use a Qtip to clean it up, and add a tiny bit more concealer where it was rubbed off.
4. Finish the look. Here, I only wore mascara and a natural blush. It's super important to keep blush and other makeup fairly neutral so that the lips don't compete with your other features. Check out the other suggestions below if you want to do a little more than mascara.

Other options:

(Click the image to make it larger!)

 Far left: Use a liquid liner to create a subtle winged out line a la Marilyn Monroe.
Middle: Create a little definition. I used MAC's Naked Lunch all over the lid and Scene only on the outer corner and blended this out. Again, a subtle winged line works well with the shadows. This is how I did my eyes in the picture from Christmas.
Far right: Use a creamy pencil liner such as Rimmel Scandaleyes eyeliner pencil in black to draw a line along the upper lash line and smudge it out with your finger or Qtip. You can also use the Maybelline Eye Studio Master Smoky Longwearing Shadow-Pencil I talked about here.

A word about the Stila Liquid Lipstick: I was very happy with this product! It didn't fade or bleed outside the lines. It looks glossy when first applied, but it dries to a matte finish. Despite the matte quality, it didn't make my lips feel dry or uncomfortable. Only downside: it will wear off when you eat or drink, so you will have to reapply a couple times to keep the color true. I definitely recommend giving these a try! I will be trying more colors from this line soon.

I hope this has been helpful for those of you who have been waiting to try it out for yourself! Now go pick up a red lipstick and see what you've been missing!

Monday, December 16, 2013

Review: Naked3 Palette

I was super excited to get my hands on Urban Decay's Naked3 palette! My obsession with the Naked palettes is pretty evident in my posts, so it was only right that the Naked3 be added to my collection.

If you are new to the Naked palettes, the original Naked palette includes twelve bronzed, warm neutral shades in a variety of textures: glittery, shimmery, and matte. After the first palette was such a hit, Naked 2 was released. This palette was a cooler toned version of the original. Again, the palette included 12 shades in several textures. And now, Naked3 has made its debut. This collection of shadows is a set of "rosy-hued neutrals", and let me tell you...they are all gorgeous. The colors in this palette are all rose or plum based shades, and I think they look especially pretty on brown eyes.

 
The palette comes in a tin just like the Naked 2 palette. I wish the original palette came in this tin. Perfect for traveling! It also comes with the dual ended shadow/blending brush and a week's worth of their four shadow primers. On to the shadows themselves:
 
 
In order of appearance in the palette: Strange, Dust, Burnout, Limit, Buzz, Trick, Nooner, Liar, Factory, Mugshot, Darkside, Blackheart
 
 
The Urban Decay shadows have an amazing velvety texture. They are super smooth, crazy pigmented, and so blendable. This is true of all three palettes. My favorite shades are Buzz, Trick, Nooner, and Mugshot.
 
Strange is a matte vanilla, Dust is pale golden glittery pink, Burnout is a peach toned pink, Limit is a matte rosy brown, Buzz is a metallic pink/rose, Trick is a true rose gold with tiny flecks of glitter, Nooner is a matte plummy brown, Liar is shimmery mauve, Factory is a bronze with a hint of pink, Mugshot is a taupe with pink shimmer, Darkside is a deep shimmery plum, and Blackheart is a matte black with red sparkles.
All of these shades are gorgeous, and there is no limit to the number of looks you can create!
 
The big question: is it worth it? Each Naked palette retails at $52. If you look at the price you would pay for 12 separate Urban Decay eye shadows, you are looking at around $216. While I realize and agree $52 is a lot of money, it really is isn't a bad deal for the number of shadows you get in the palette. As far as Naked3 specifically, I wouldn't recommend this to just anyone. I feel that this palette is definitely for the beauty obsessed! If you are interested in the Naked palettes and don't own any of them, I would suggest the original Naked or Naked 2. These shades in these collections are more "true" neutral shades. It comes down to your preference of cool or warm toned neutrals, and you can't go wrong with either choice. Naked3 is for the one who loves neutrals, but still likes to play with a little bit of color.
 
Have you been eyeing Naked3? What do you think of the newest addition to the Naked family?


Saturday, October 12, 2013

My beauty favorites for fall! (And a spotlight on Maybelline's NEW Color Elixir Liquid Color Balm)

These are some of my favorite kinds of posts to read and YouTube videos to watch! I think it's about the thrill of the chase...I'm always on the lookout for the ultimate product! When I think of fall makeup, I think of warm colors like gold, army green, and cranberry. Here are my picks to try out this season:
 
(P.S. Bear with me on the picture quality! I don't have the fanciest camera, but I think you can get the idea with these pictures!)

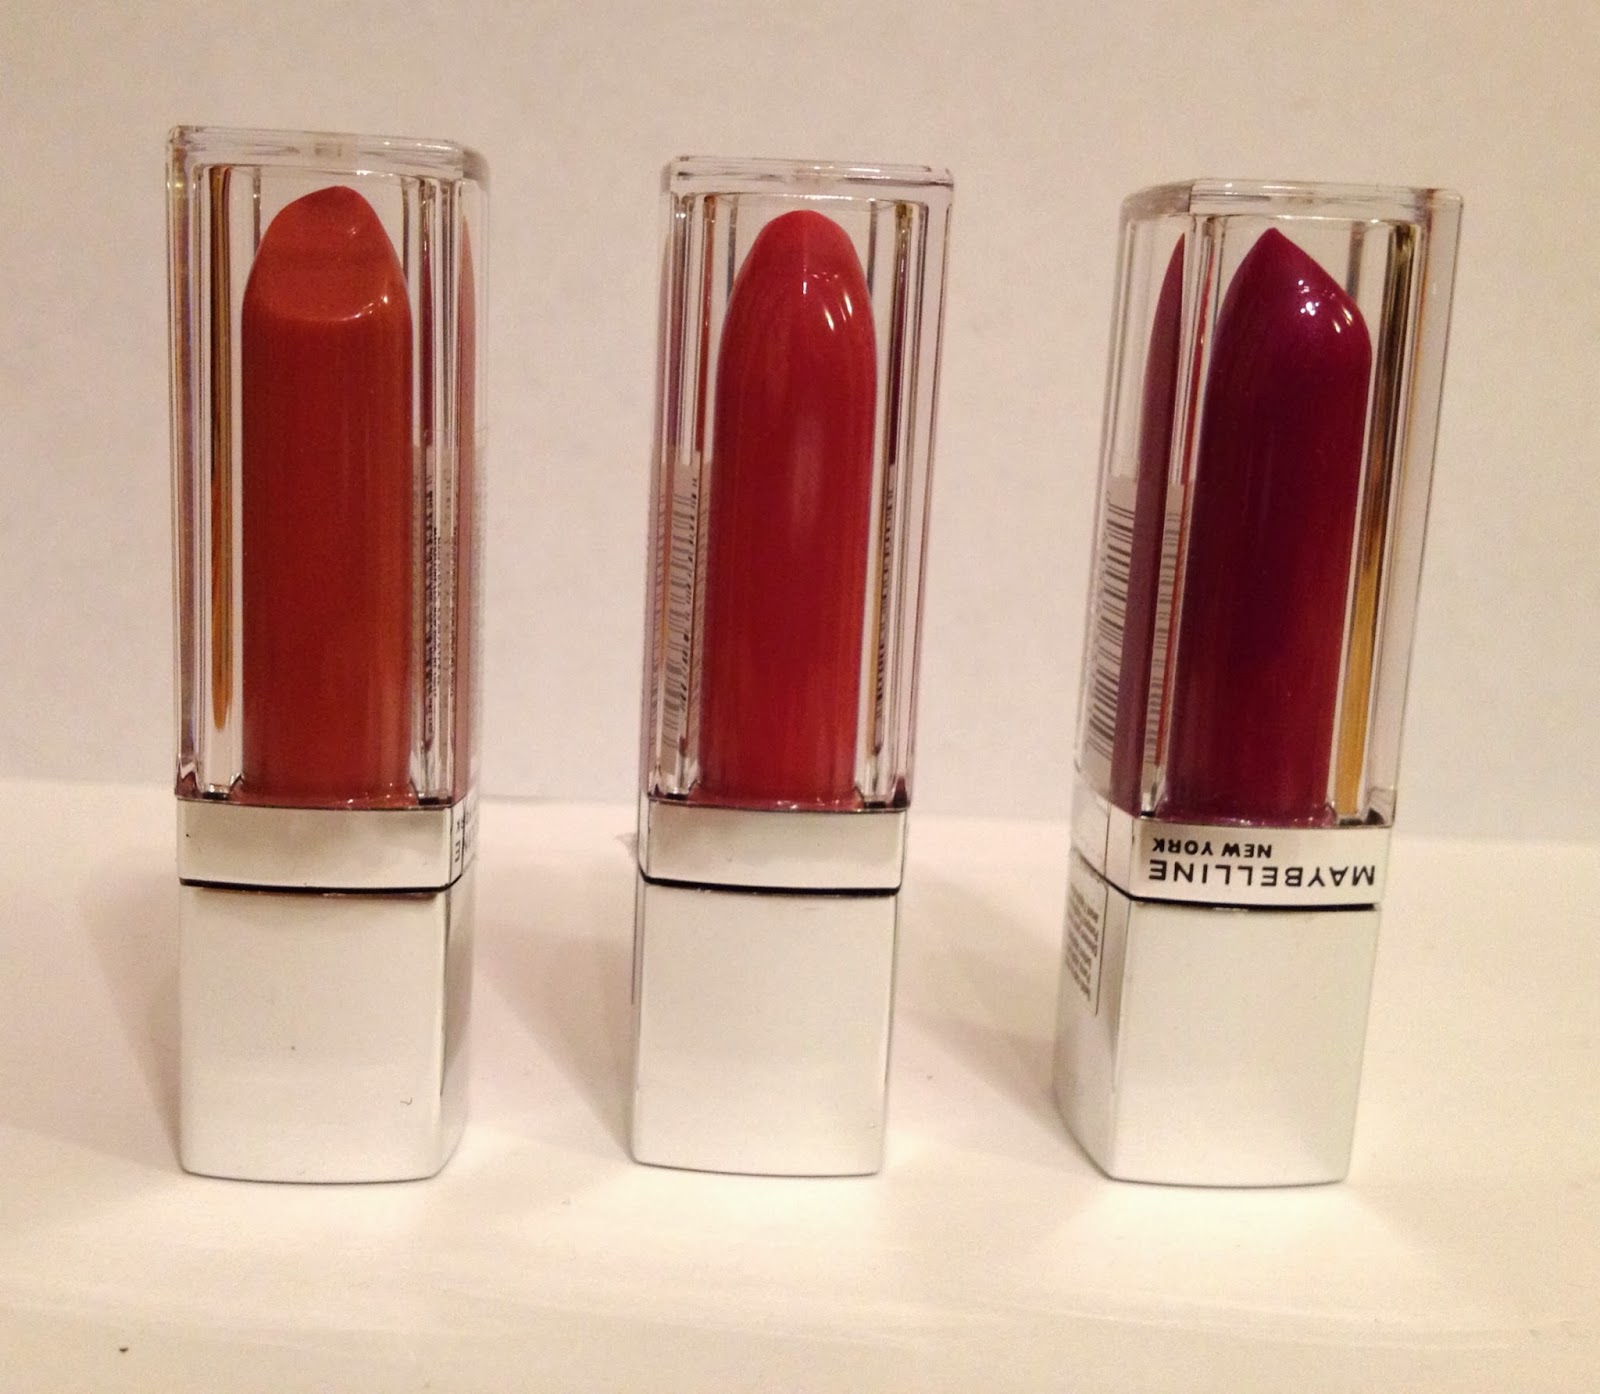
1. Maybelline's NEW Color Elixir Liquid Color Balm
Colors from left to right: Caramel Infused, Rose Redefined, and Raspberry Rhapsody
 
Can we just talk about the packaging for a second? I am a huge sucker for cute packaging, and these instantly caught my eye. They look like clear lipstick tubes and the colors are seriously stunning (there are 20 to pick from!). There is every color from nude, to pink, to dark purple, to classic red. I want them all! Here's the thing though...the packaging is a trick! It really is a tube of lip gloss!


Maybelline describes it this way: "A trio of concentrates delivers the color of a lipstick, the cushiony care of a balm, and the glass shine of a gloss". I'm seriously loving these babies! I had to limit myself to three, and I love all the colors I ended up choosing. Caramel infused is a really nice, neutral with a (obviously) caramel color. Rose redefined is a beautiful pinky rose that I think would look great with bronzy or neutral eye. And my favorite...Raspberry Rhapsody. This color is a purple toned berry. So pretty. As for the texture, I give them an A+! It's just right. Moisturizing without being thick or tacky. These balms are crazy pigmented and provide an awesome punch of color. Since they are a balm, the color doesn't last forever, but it doesn't bother me to reapply a few times in the day. Try these out ASAP!
 
2. Milani Baked Blush in Berry Amore


I love the Milani baked blushes. Luminoso is another all time favorite of mine, but this season calls for a berry flush across the cheeks. Not only are these pretty to look at, but these blushes have a subtle shimmer that creates a glow without using highlighter. Berry Amore is the perfect color to try right now!
 

 3. Revlon Lip Butter in Raspberry Pie

 
A berry colored lip is my favorite trend of the fall. Revlon's Lip Butters are all amazing, but Raspberry Pie is a gorgeous berry (duh) color, and the super moisturizing formula feels good on the lips!
 
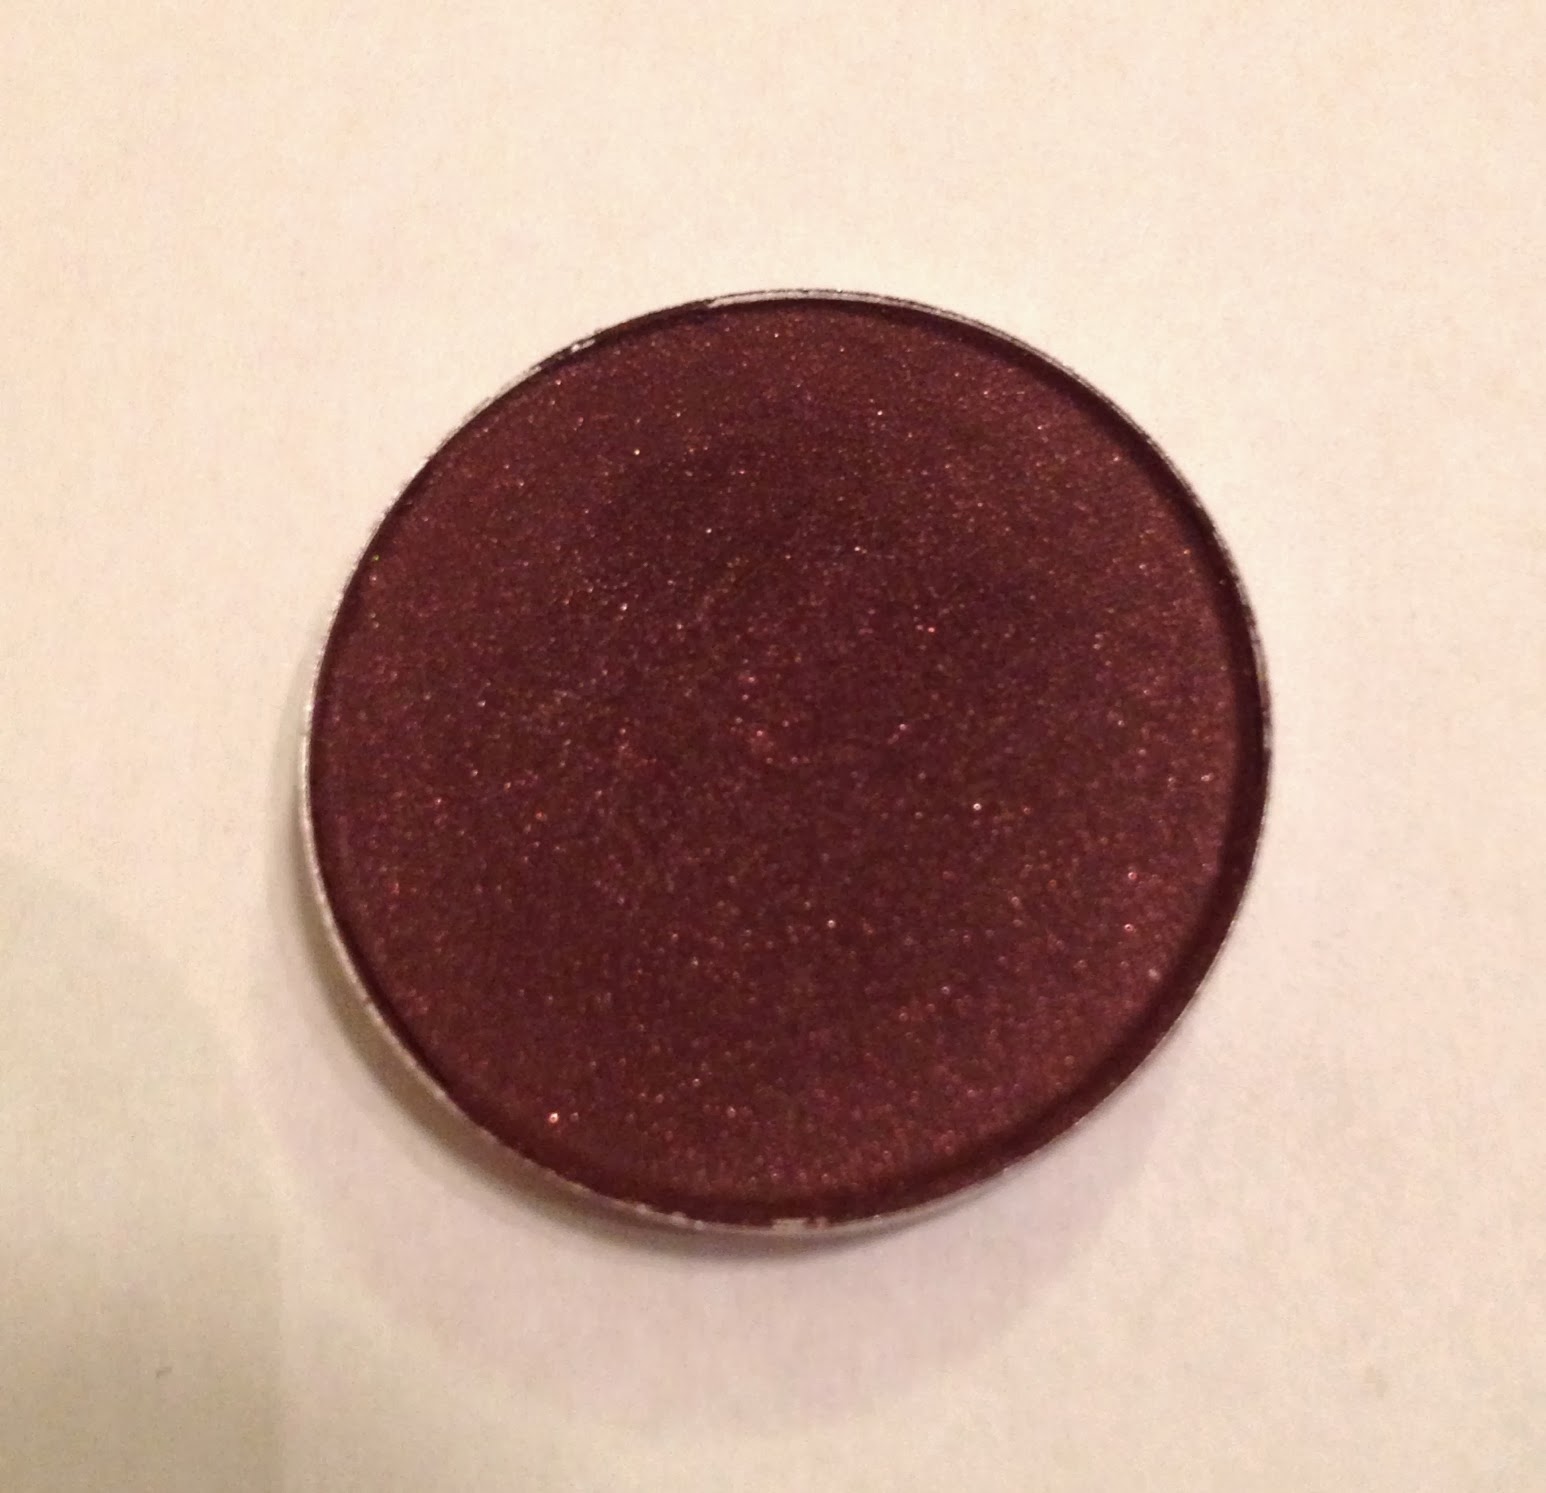
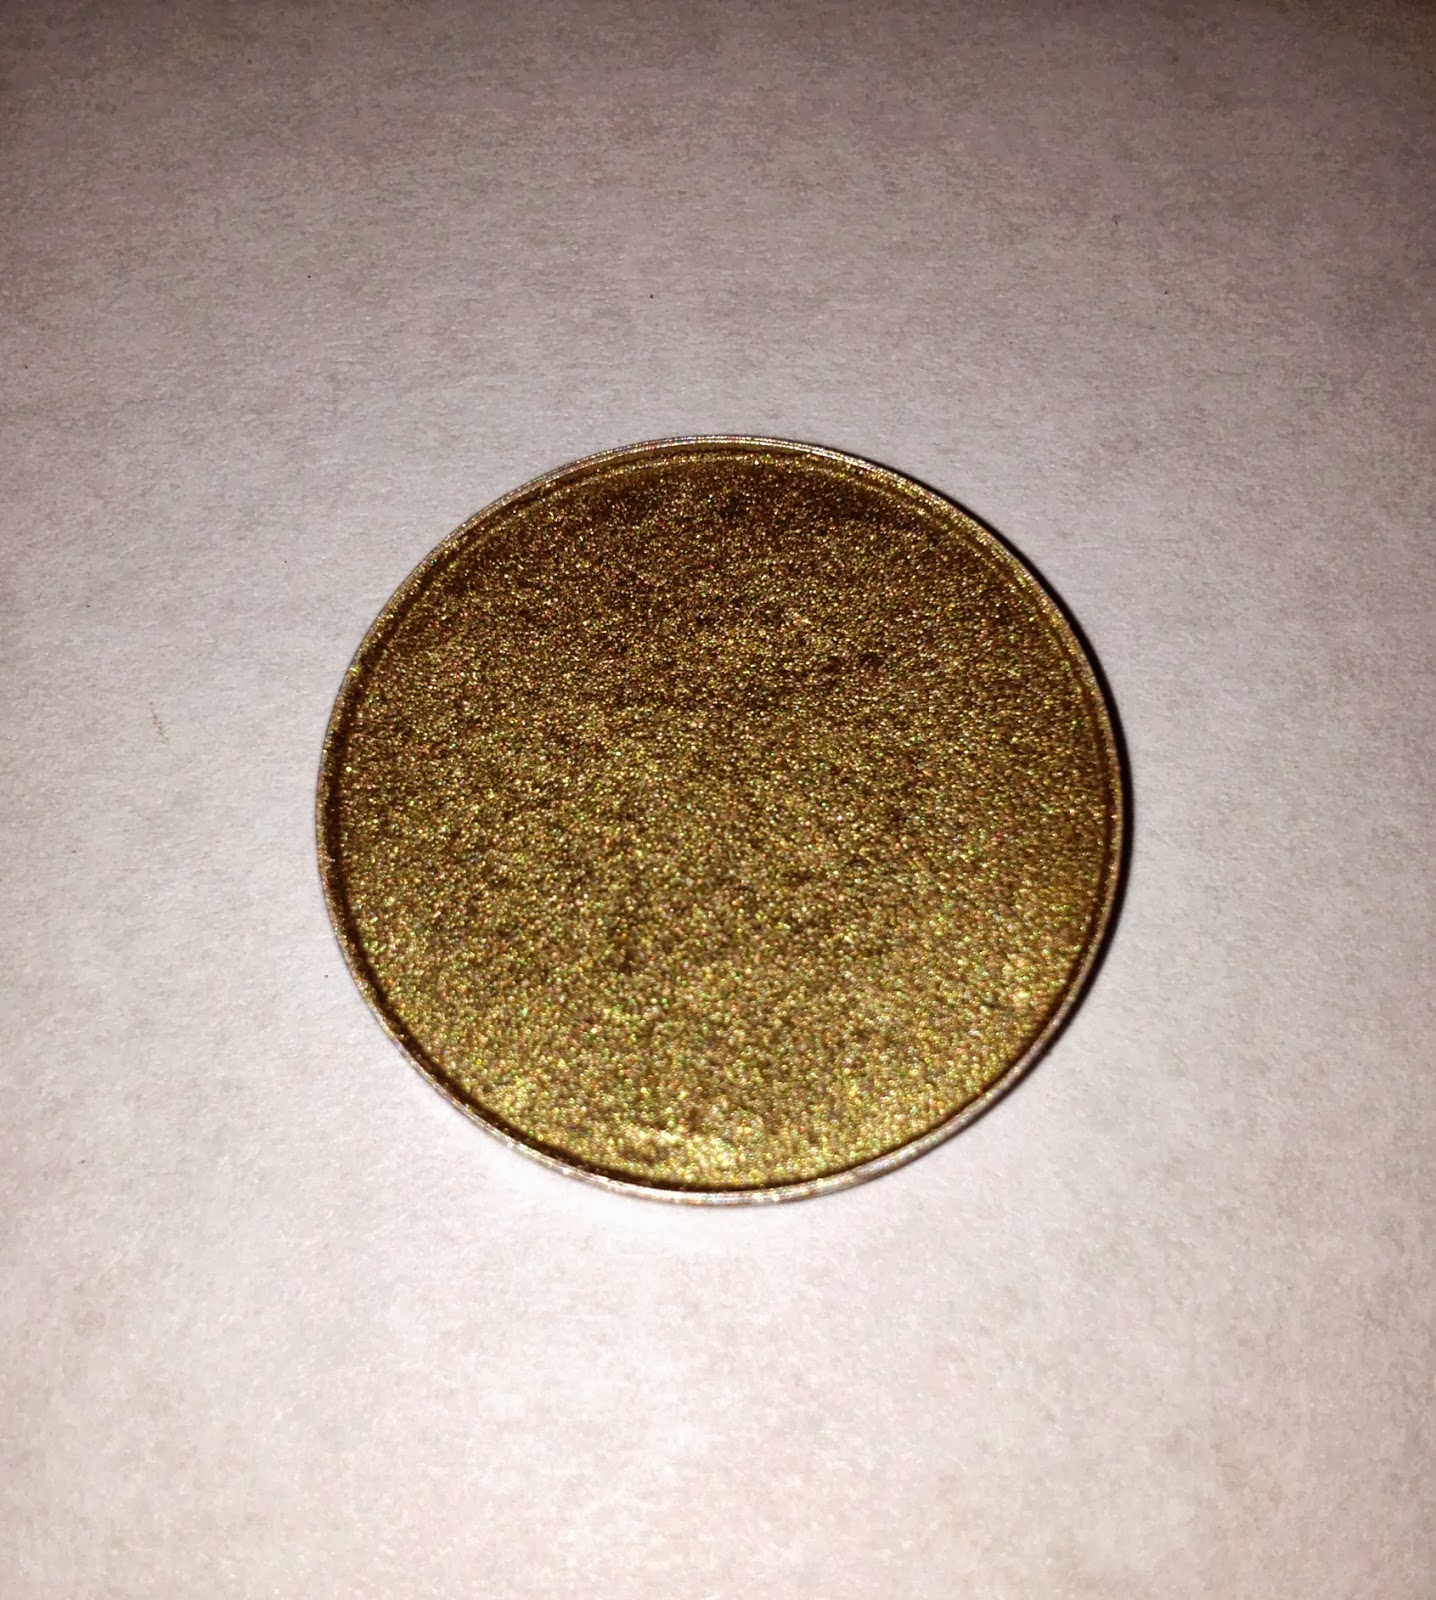
4. MAC's Eyeshadows in Sketch and Sumptuous Olive 


Let's talk about eyes. Sketch is a plum/cranberry with a tiny bit of sparkle. This one looks awesome on every eye color! I have only used this as a crease color with a light gold, champagne, or light pink for the lid color. All That Glitters or Naked Lunch work nicely! Sumptuous Olive is one of my favorites. It is an olive green laced with gold. SO pretty! You can wear this on its own or pair it with a brown shade in the crease. I think this color looks best on brown eyes. If you're a brown eyed girl and don't have this in your collection, pick it up next time you're at a MAC counter!
 
5. Urban Decay Naked 2 Palette


The infamous Naked Palettes. I use this year round, but I'm including it in my fall favorites for the number of looks you can create with this palette. Honestly, I almost regretted buying this one. I already owned the original Naked palette, and still love it dearly. When I got this one home and compared the two, I was a little disappointed at how similar the two palettes were. I kept it anyways, and experimented with different color combinations. Now, I reach for this palette more than the original. My go-to combination is Half Baked on the lid and Snakebite in the crease.
 
6. Nail Polish!
 
Left to right: Essie Sand Tropez, Revlon Fall Mood, OPI You Don't Know Jacques, Revlon Rich Raspberry, Revlon Bold Sangria, and Sally Hansen Navy Baby
 
I admit it. I have a problem. I have a serious addiction to nail polish. It's embarrassing the number of bottles I own. These are my six favorite colors to get neutral, metallic, berry, or bold nails for the fall!


Okay, that's it! I'd love to know what you think of any of these products and hear your favorites for fall!