Showing posts with label Essie. Show all posts

Thursday, November 7, 2013

Perfect Nails at Home

Doing my nails is such a relaxing thing for me. It makes me focus and concentrate on one thing for a little while and helps me unwind. Over the years, I've learned some tips and tricks to getting the perfect manicure at home. It just takes a little time and maybe a little practice, but you'll be a pro before you know it!

What you need:

  • Base coat. Here I am using Gelous Nail Gel. You may have seen this all over Pinterest. Most posts include this product in a tutorial explaining how to get "gel nails at home". I've tried following these tutorials, but I wouldn't say you should expect to get the thickness of a salon gel manicure. Even after layering this underneath and between two coats of polish, I still didn't notice the finished look appearing any different than my normal method. It does work well as a base coat. I will use it up but probably not buy it again. You can find it at Sally's Beauty Supply.
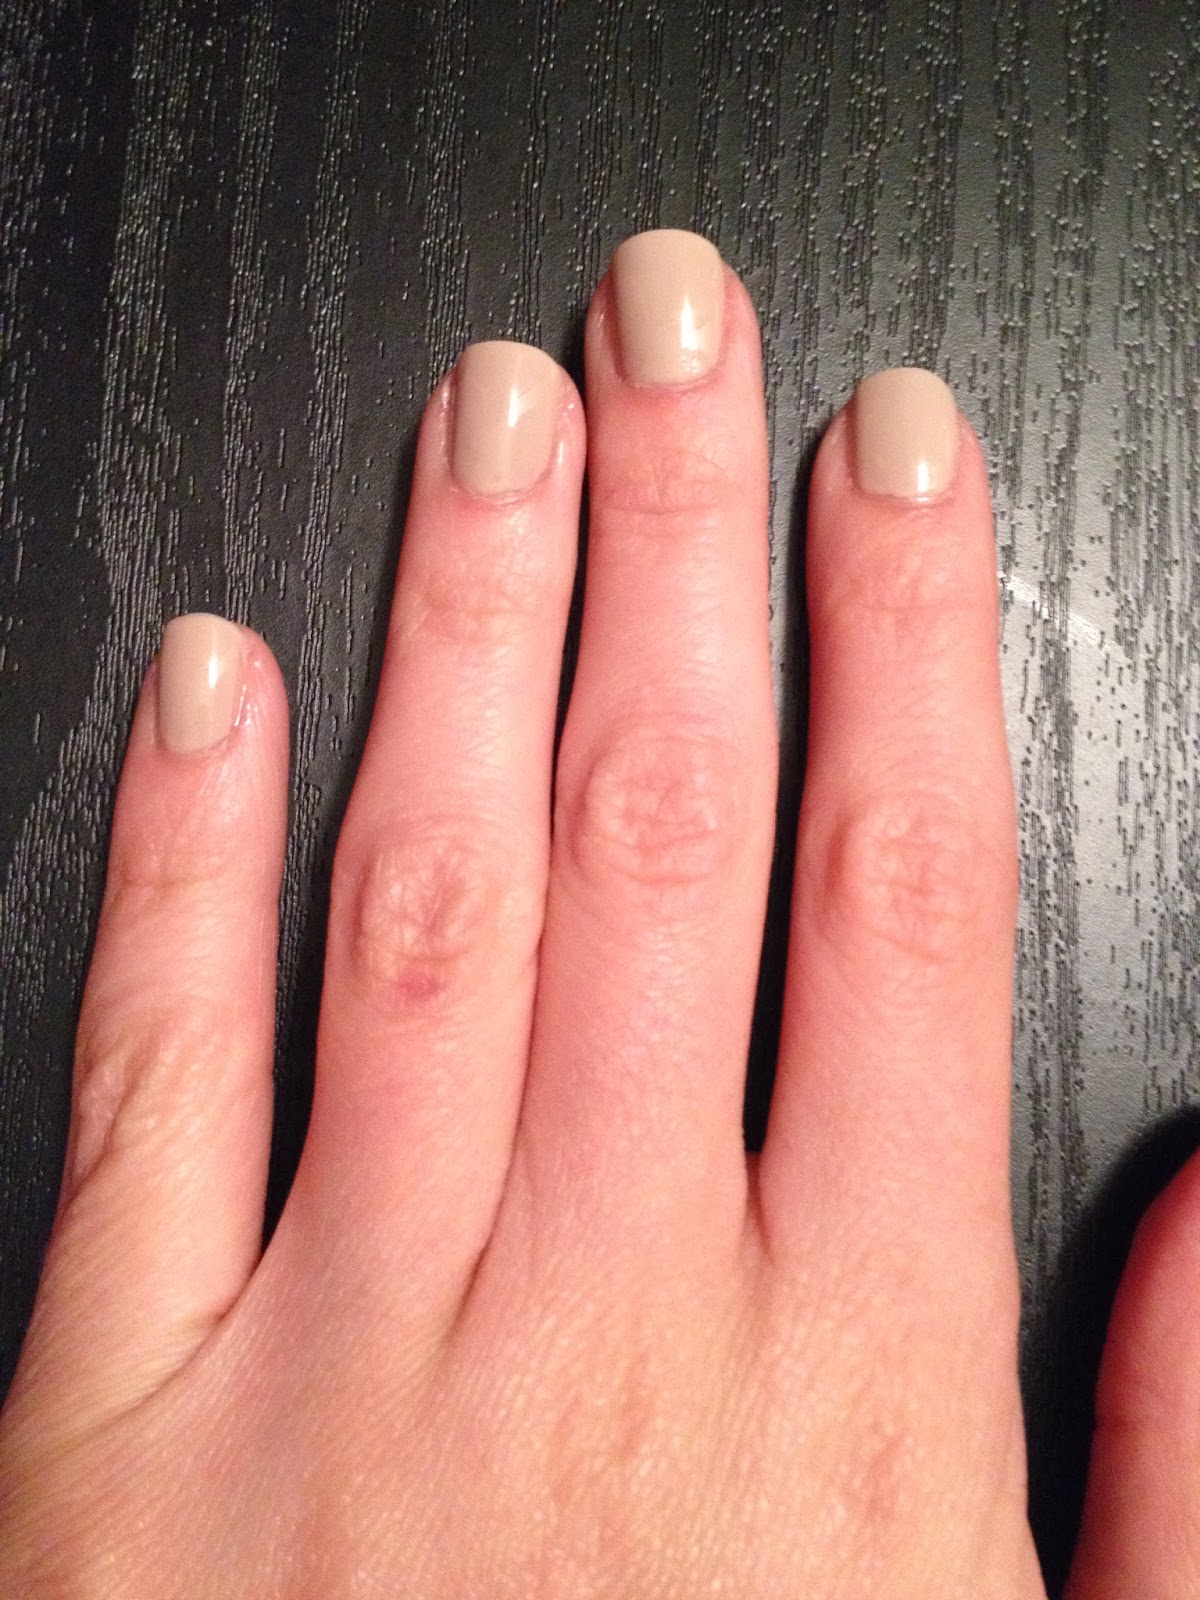
  • Color. Use anything you want! I will be in a wedding this weekend, and the bridesmaids are using Essie's Sand Tropez. It's also an awesome neutral color any time of year. 
  • Top coat. Seche Vite Dry Fast Top Coat is my absolute favorite top coat. It dries crazy fast, hardens your nail polish in no time, and leaves nails looking super glossy. I've tried the Sally Hansen fast dry top coats but have found I always get bubbles in the polish. I'd spend the extra few dollars on the Seche Vite.
  • Cuticle Remover.  Sally Hansen got it right with this stuff. Easy to use, very effective.
  • Cuticle Pusher. The one pictured is the Sally Hansen Push-n-trim Cuticle Groomer. I just found this little tool and am obsessed with it! I was previously using a metal one, but it would sometimes scrape my nail and be a little too harsh. The handle is rubberized for a comfortable grip, and the pusher end is made of plastic, so it is much gentler on the nail. The other end is a V-shaped trimmer, but I don't use this end. I highly suggest this one in particular!
  • Nail file. My favorite nail files are made my Revlon. They do not make my nails peel, chip, or flake. In the step-by-step pictures, I am using the long Revlon nail file. I usually use the mini "Box o' Files". The files are smaller and easier to use, in my opinion. I just couldn't find them when I was doing my nails today!
What you do:
1. It does not matter if you do Step 1 or 2 first. Today, I started by using the cuticle remover. Squirt a small amount of the gel along the cuticle of each finger.

 
Let it sit for about a minute, and then use the cuticle pusher to push back any skin that has grown over the nail. This step is crucial! It makes a HUGE difference and really makes a manicure look professional. It also helps the polish last longer because it will adhere to the nail, not skin. Be sure to wash your hands after this step!


After:
 
2. Use the nail file to shape the nail to your liking. For me, I feel that the "squoval" shape is most flattering. For this shape, I like to file straight across, then round out the sides a bit. One important thing: always file in the same direction. Never saw back and forth. Wash your hands after filing to remove any "dust" before applying any polish.


Finished look:
 
Not too different, just slightly more shaped.
 
3. Paint on a layer of base coat. I did not have a picture for this step. I felt that it was pretty self explanatory, and the clear color wouldn't show up too well on camera.
 
4. Use one THIN layer of color. It is very important to do a thin layer! This first layer of color will be the foundation for the rest of the polish. The second coat will go on much smoother if you use a thin layer. Take your time, and leave a small amount of space unpainted between the outside edge of the nail and the skin of the cuticles. It makes the polish look cleaner. Allow this about 5 minutes or so to dry. It should not feel tacky. Most people complain about painting their dominant hand. Yes, this can be pretty difficult! Don't rush, and keep practicing!
 
 
5. Apply a second coat of color. You can use a thicker layer for the second coat. Let this dry a little longer than the first coat. I usually end up letting this coat dry 15-20 minutes. If you need it, apply a third coat, and let it dry until it isn't too tacky.


6. Apply your top coat. After a coat of Seche Vite, my nails are usually ready to go in about two minutes tops!


Voila! Perfect nails at home! I hope you found this helpful!


Saturday, October 12, 2013

My beauty favorites for fall! (And a spotlight on Maybelline's NEW Color Elixir Liquid Color Balm)

These are some of my favorite kinds of posts to read and YouTube videos to watch! I think it's about the thrill of the chase...I'm always on the lookout for the ultimate product! When I think of fall makeup, I think of warm colors like gold, army green, and cranberry. Here are my picks to try out this season:
 
(P.S. Bear with me on the picture quality! I don't have the fanciest camera, but I think you can get the idea with these pictures!)

1. Maybelline's NEW Color Elixir Liquid Color Balm
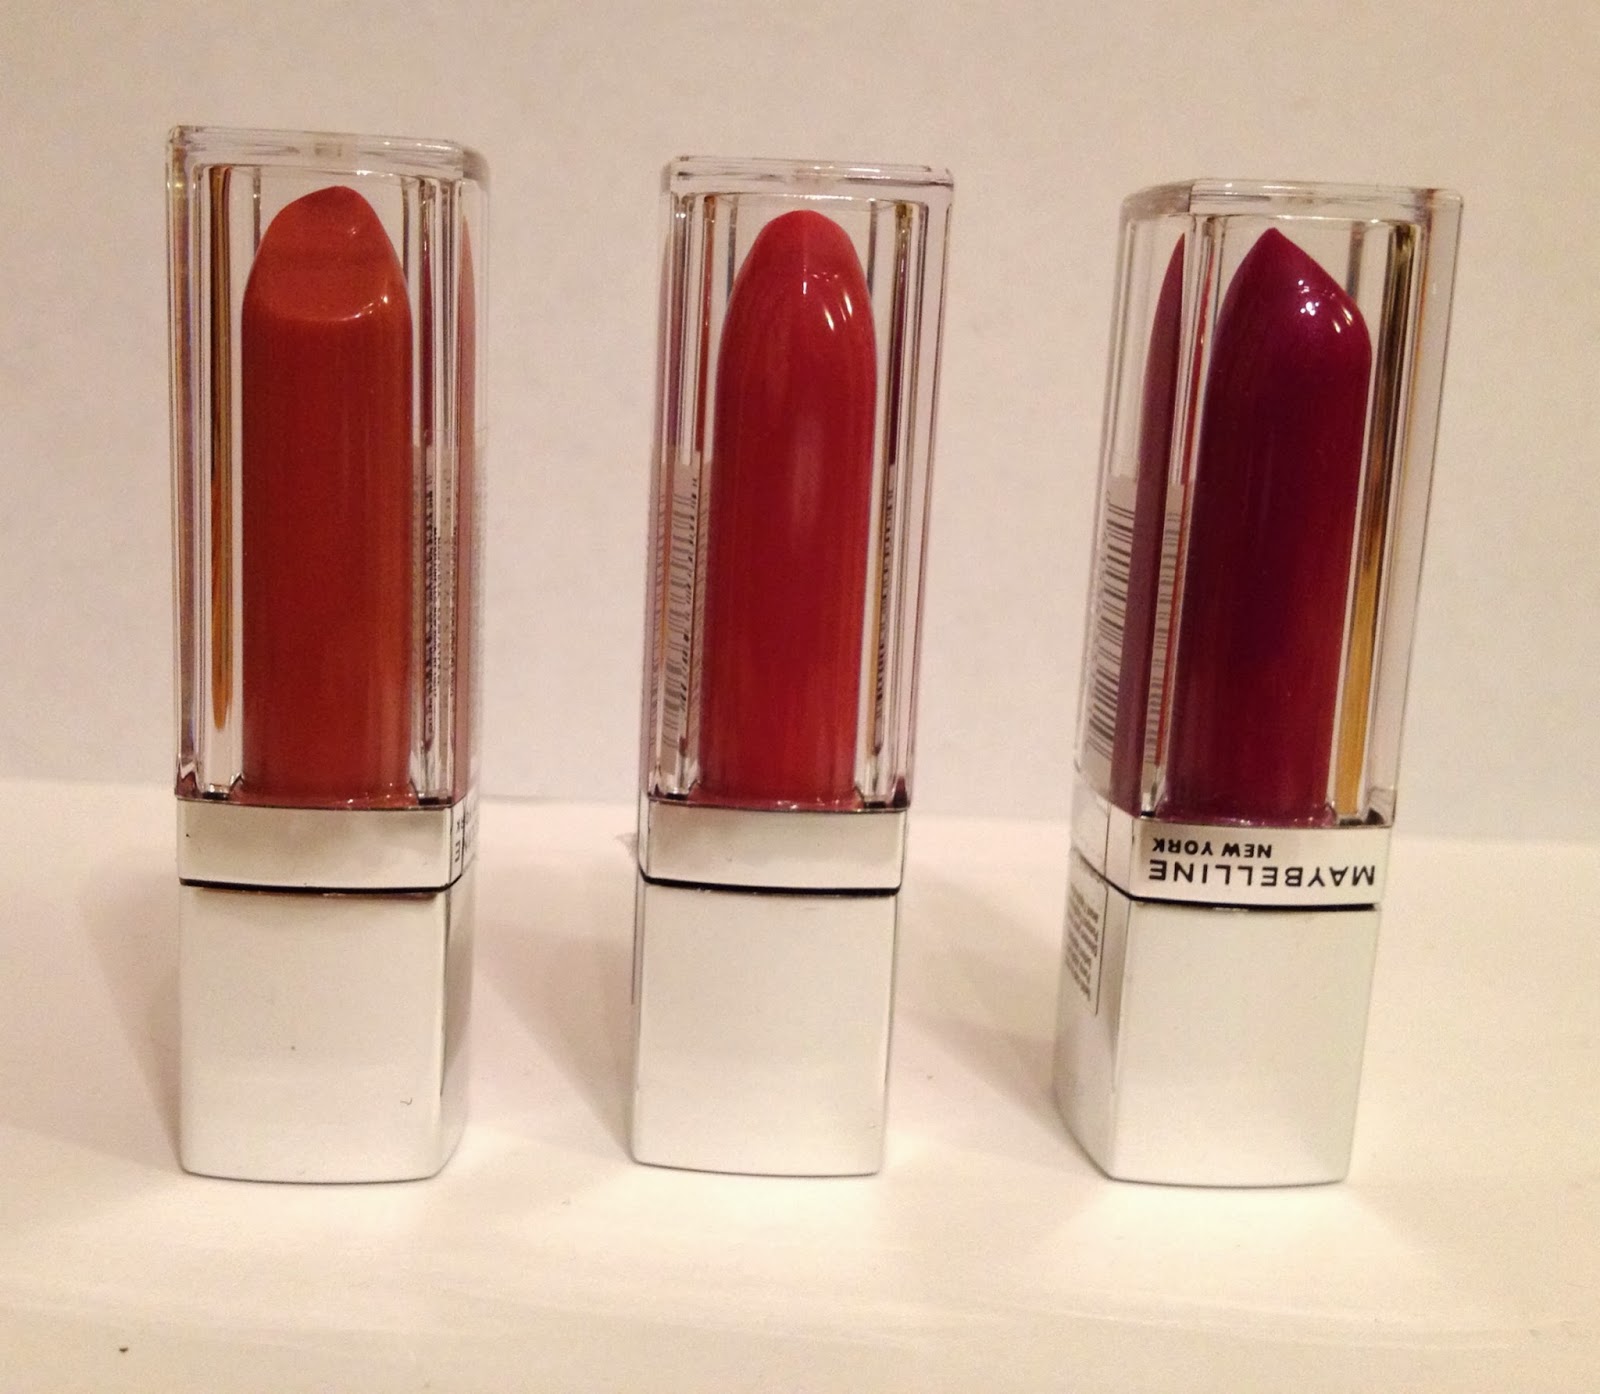
Colors from left to right: Caramel Infused, Rose Redefined, and Raspberry Rhapsody
 
Can we just talk about the packaging for a second? I am a huge sucker for cute packaging, and these instantly caught my eye. They look like clear lipstick tubes and the colors are seriously stunning (there are 20 to pick from!). There is every color from nude, to pink, to dark purple, to classic red. I want them all! Here's the thing though...the packaging is a trick! It really is a tube of lip gloss!


Maybelline describes it this way: "A trio of concentrates delivers the color of a lipstick, the cushiony care of a balm, and the glass shine of a gloss". I'm seriously loving these babies! I had to limit myself to three, and I love all the colors I ended up choosing. Caramel infused is a really nice, neutral with a (obviously) caramel color. Rose redefined is a beautiful pinky rose that I think would look great with bronzy or neutral eye. And my favorite...Raspberry Rhapsody. This color is a purple toned berry. So pretty. As for the texture, I give them an A+! It's just right. Moisturizing without being thick or tacky. These balms are crazy pigmented and provide an awesome punch of color. Since they are a balm, the color doesn't last forever, but it doesn't bother me to reapply a few times in the day. Try these out ASAP!
 
2. Milani Baked Blush in Berry Amore


I love the Milani baked blushes. Luminoso is another all time favorite of mine, but this season calls for a berry flush across the cheeks. Not only are these pretty to look at, but these blushes have a subtle shimmer that creates a glow without using highlighter. Berry Amore is the perfect color to try right now!
 

 3. Revlon Lip Butter in Raspberry Pie

 
A berry colored lip is my favorite trend of the fall. Revlon's Lip Butters are all amazing, but Raspberry Pie is a gorgeous berry (duh) color, and the super moisturizing formula feels good on the lips!
 
4. MAC's Eyeshadows in Sketch and Sumptuous Olive 


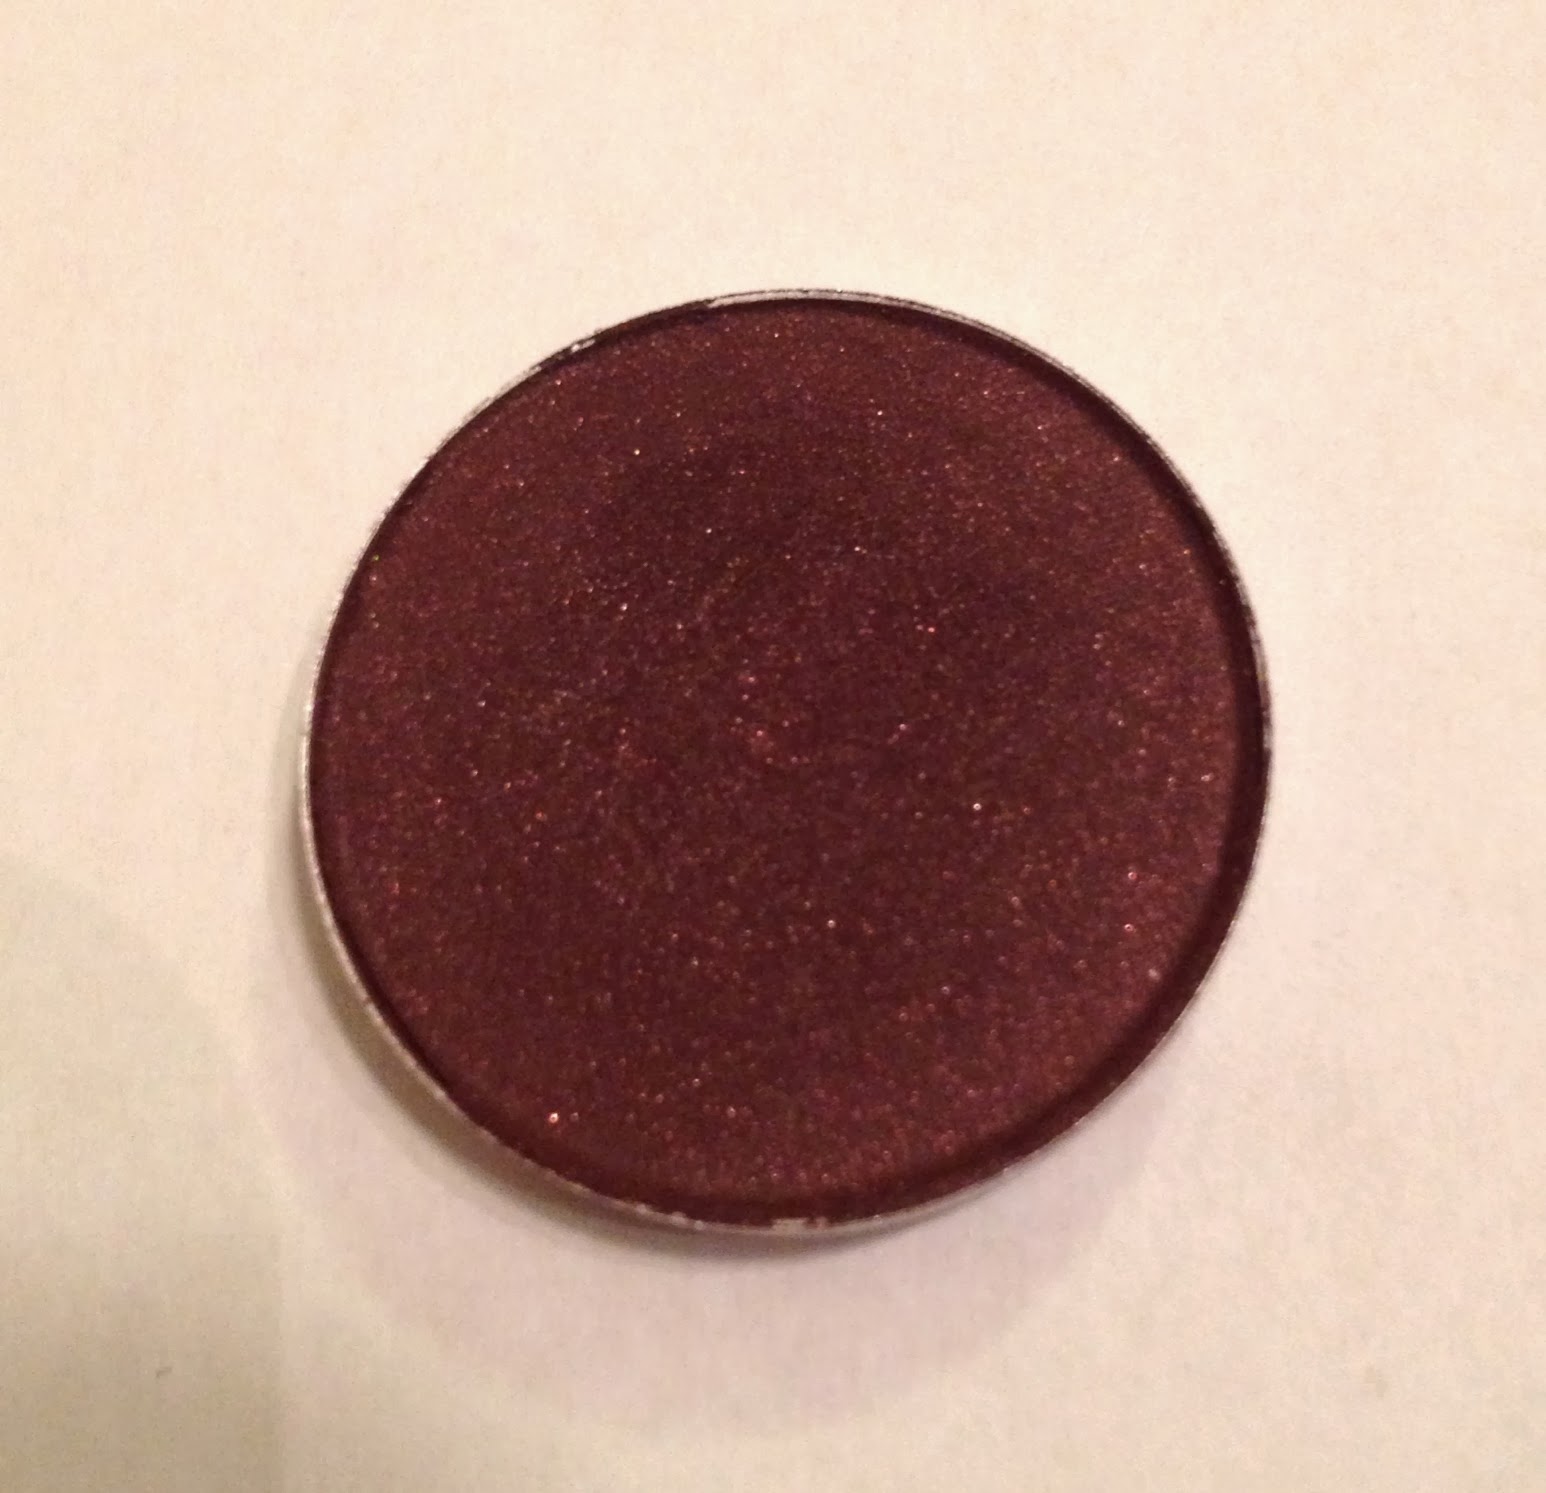
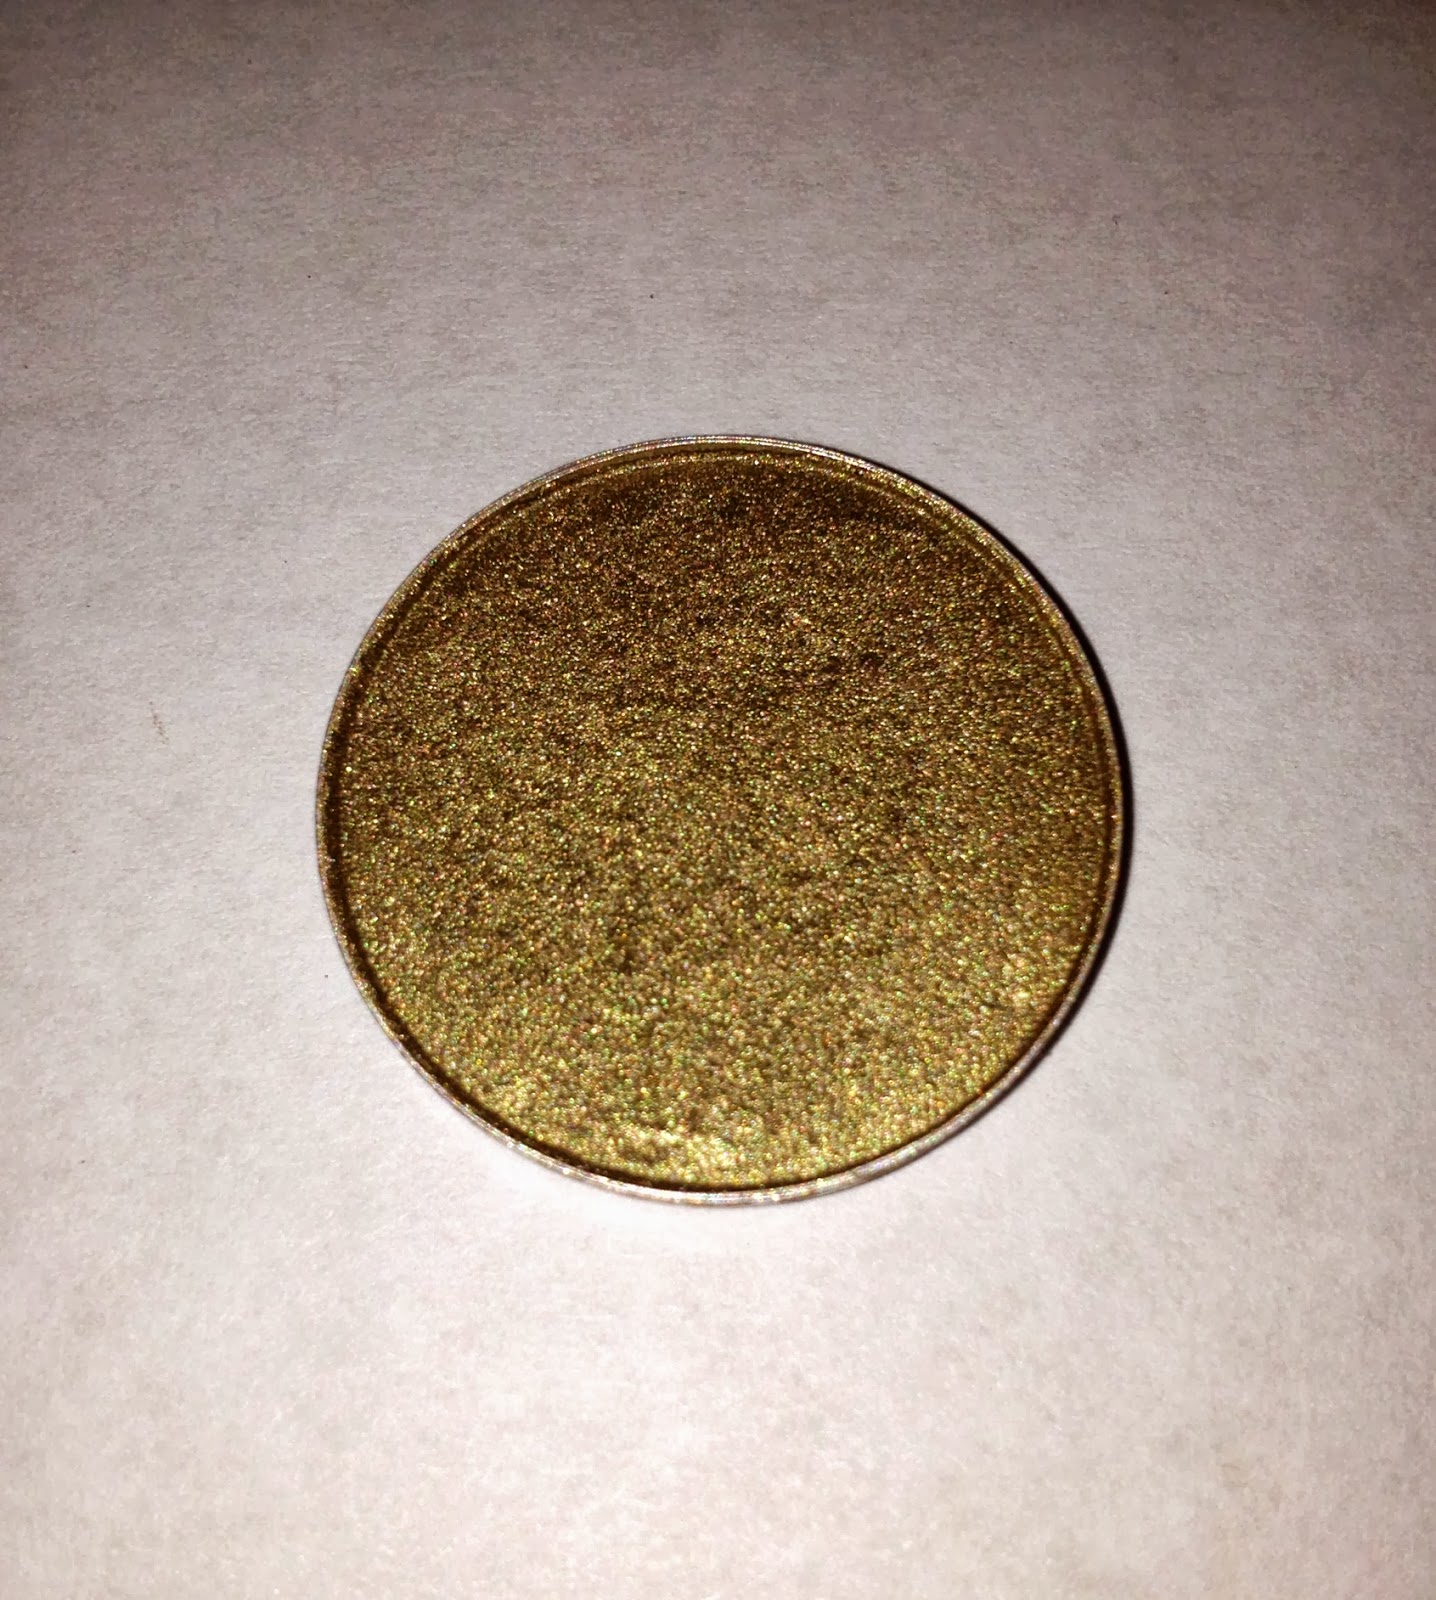
Let's talk about eyes. Sketch is a plum/cranberry with a tiny bit of sparkle. This one looks awesome on every eye color! I have only used this as a crease color with a light gold, champagne, or light pink for the lid color. All That Glitters or Naked Lunch work nicely! Sumptuous Olive is one of my favorites. It is an olive green laced with gold. SO pretty! You can wear this on its own or pair it with a brown shade in the crease. I think this color looks best on brown eyes. If you're a brown eyed girl and don't have this in your collection, pick it up next time you're at a MAC counter!
 
5. Urban Decay Naked 2 Palette


The infamous Naked Palettes. I use this year round, but I'm including it in my fall favorites for the number of looks you can create with this palette. Honestly, I almost regretted buying this one. I already owned the original Naked palette, and still love it dearly. When I got this one home and compared the two, I was a little disappointed at how similar the two palettes were. I kept it anyways, and experimented with different color combinations. Now, I reach for this palette more than the original. My go-to combination is Half Baked on the lid and Snakebite in the crease.
 
6. Nail Polish!
 
Left to right: Essie Sand Tropez, Revlon Fall Mood, OPI You Don't Know Jacques, Revlon Rich Raspberry, Revlon Bold Sangria, and Sally Hansen Navy Baby
 
I admit it. I have a problem. I have a serious addiction to nail polish. It's embarrassing the number of bottles I own. These are my six favorite colors to get neutral, metallic, berry, or bold nails for the fall!


Okay, that's it! I'd love to know what you think of any of these products and hear your favorites for fall!