Monday, October 28, 2013

October Favorites

These are a few things I have reached for time and time again throughout this month. I'd love to know what you think of these products and if you love them as much as I do!

1. They're Real! mascara by Benefit Cosmetics $23

 
I almost never buy high-end mascaras. I've tried several...Dior Diorshow mascara, LancĂ´me Hypnose, Benefit BADgal Lash, Estee Lauder Double Wear, Blinc mascara, etc. None have ever impressed me, and they dry out so quickly it's just not worth the extra money in my opinion. I have been using (and loving) Maybelline's The Rocket mascara. However, I got a sample of this mascara in my birthday gift from Sephora, and I love this stuff! I have to admit...I only paid $7.25 on Birchbox.com using a discount and my Birchbox points. Not a bad deal, right?
 
My eyelashes look nonexistent without mascara. They are super straight and pretty skimpy. With this mascara, it looks like I have a ton of thick lashes. It does an awesome job of fanning them out and making them look separated and pretty. On top of all that, it holds the curl in my lashes until I take it off at the end of the day.
 
 
I love the brush with this mascara. It has rubberized bristles, but the end of the brush is what I like the most. It does an amazing job of grabbing those inner eyelashes and separating and defining single lashes for a flirtier look. That's one complaint I have with The Rocket mascara. The end of the brush is flat and can make your lashes clump together if you're not careful.
 
If you're looking to try a new mascara, this one is totally worth a try!
 
 
2. Maybelline's Fit Me Concealer $6
 
 
I bought this after seeing Jaclyn Hill use it on her YouTube channel. This is a really great concealer! The consistency is actually pretty thin, but it covers so well. It's not drying, and works well with the other foundations I've used. I use it on undereye circles or any blemishes that may pop up. At about $6 (depending on the store), you can't go wrong.
 
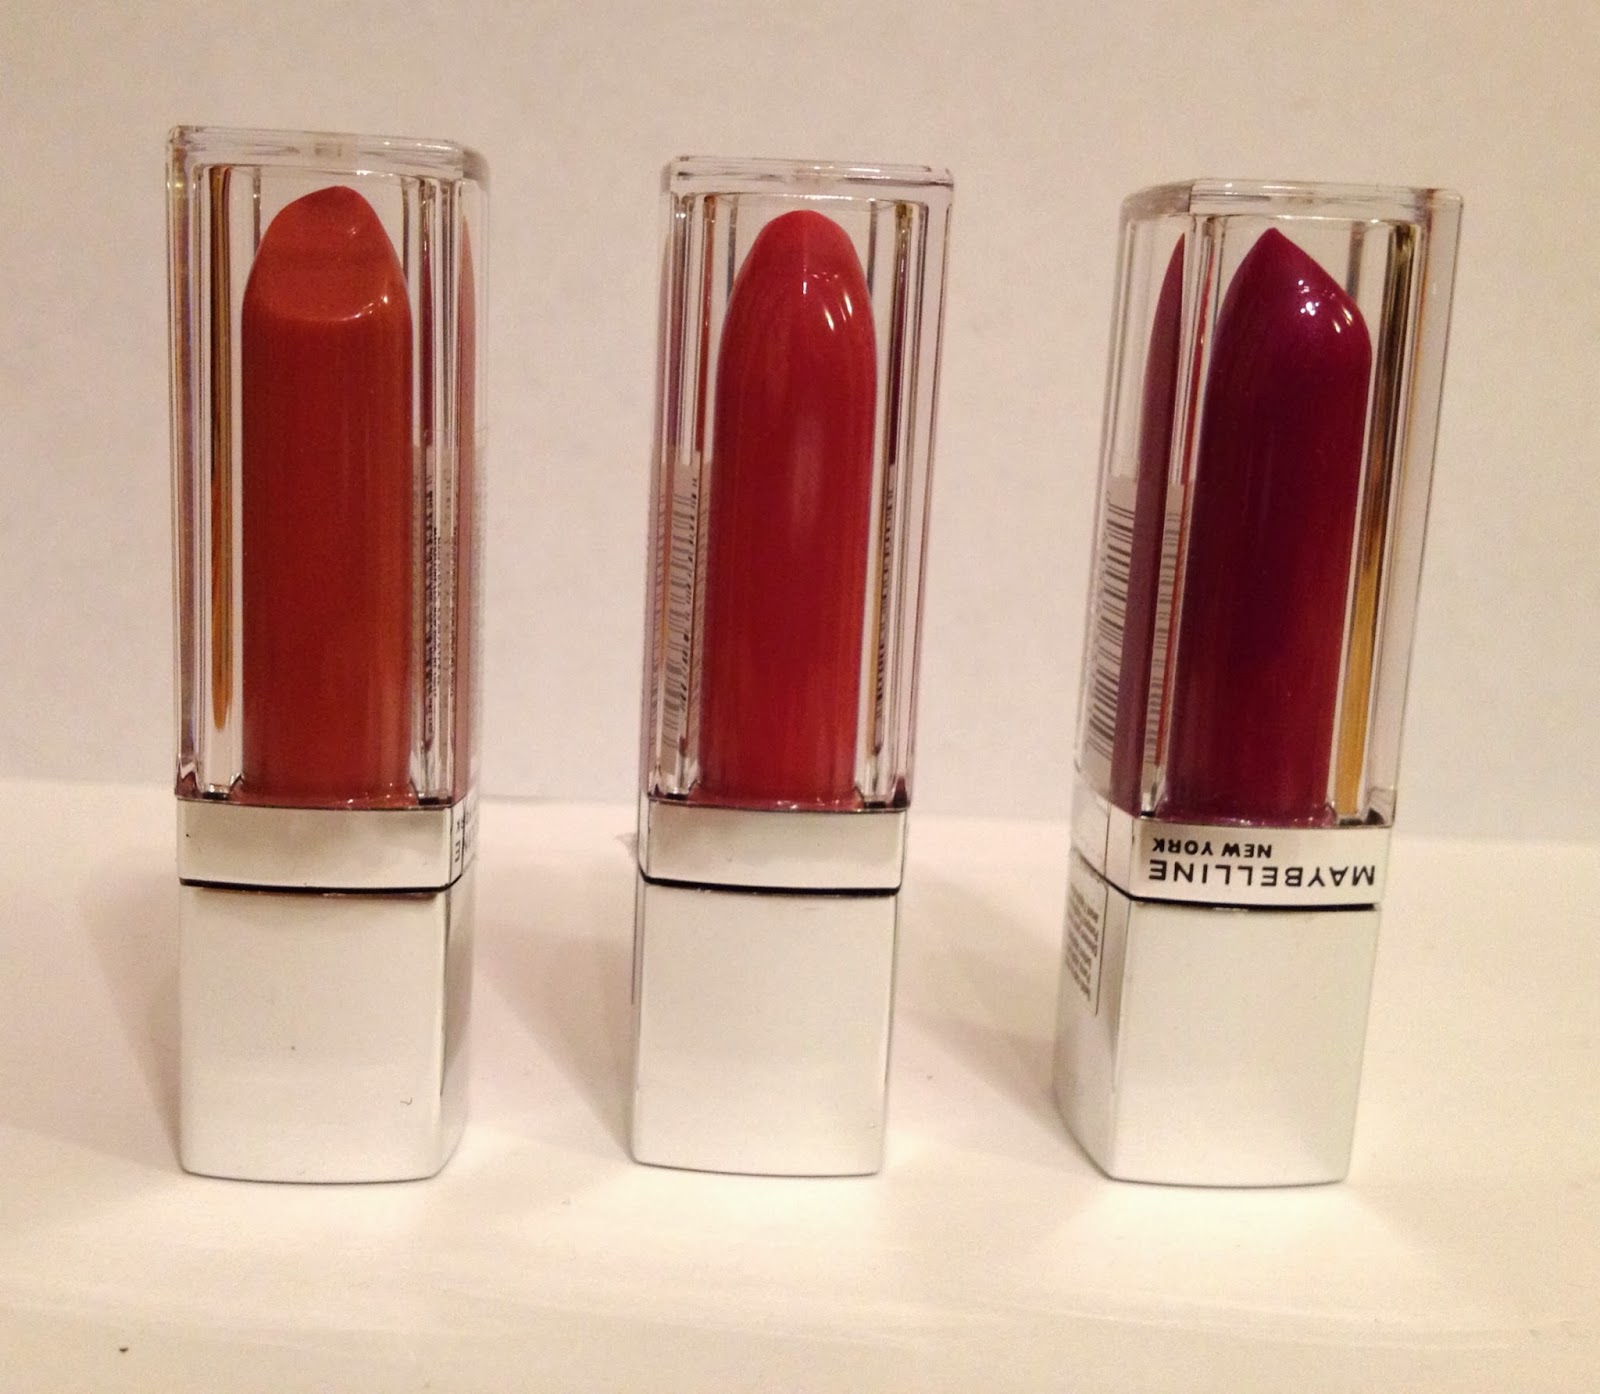
4. Maybelline's Color Elixir $8
 
 
I wrote about these in my "Fall Essentials" post, and I am in love with these lip glosses! I'm not even sure "lip gloss" is the correct classification for this product. It is so much more. The consistency is like a lip gloss, the color is like a lipstick, and I have found it actually has pretty impressive staying power. Rose Redefined and Raspberry Rhapsody have been my favorite colors. Since the colors don't show up great in the tube, here are swatches of these two shades:


Raspberry Rhapsody is on top, and Rose Redefined is on bottom. I prefer to wear these alone instead of over a lipstick. I tried layering Raspberry Rhapsody over Revlon's Lip Butter in Raspberry Pie, and I wasn't too crazy about the combo. For me, each look better on their own. Rose Redefined adds just the perfect pink/rose color to your lips that goes with almost every look. I can't say enough good things about the Color Elixirs!
 
5. Laura Mercier Foundation Powder $40


I debated including this in my favorites. It is my all time favorite foundation. The reason I almost didn't include it is because, to my despair, it is being discontinued and replaced with garbage.

Let me start with why this one is so amazing. This stuff makes your skin look AMAZING. Flawless. I have combo skin and often powders and powder foundations can dry my skin out and make it look flakey around my nose and mouth (gross). Not this one. It makes your skin look perfect in person, but it also makes your skin look equally gorgeous in pictures or on camera. It is super easy and fast to use. I am always running late. Always. I can't help it. It doesn't matter if I wake up thirty minutes before I have to leave or three hours. This product is a huge time saver for me! I like to spend more time doing eye makeup than on the rest of my face, so it's nice to have a product that gets the job done quickly. I normally don't even need concealer when I use this foundation. It covers dark circles and blemishes without needing extra products to cover anything up. It doesn't look cakey or powdery on the skin. Just perfection.

Now, I don't normally say anything bad about products I don't like. In this case, I really feel like an amazing product is being replaced with something that is not even close to the same level. The Smooth Finish Foundation Powder is what Laura Mercier has produced to take the place of the original Foundation Powder. This is how the company describes the new product: "A second-skin, oil-free powder foundation that can be used wet or dry. This silky smooth innovation offers a natural veil that imparts a color-true finish that lasts up to eight hours. It glides on effortlessly, camouflages, hydrates, and blurs fine lines, never settling into them. Ultra fine micronized pigments flex with skin for coverage that is even and flawless. Use it as a sheer to medium powder or build coverage using it wet." No. Just no. None of this is true. When I couldn't find my trusty favorite in Sephora, I asked why there wasn't a place for it anymore. The girl confirmed my worst nightmare...it was being discontinued. She continued to inform me that this new product promised to be even better than the original. I was very skeptical and looked at other options, but decided to bite the bullet and try the new foundation. (Might I mention it is also a little more expensive at $45.) This looks like powder on top of your skin, the coverage isn't even comparable to the original powder, it made me look like I have serious wrinkles and lines, and overall looked terrible. I was SO disappointed. I returned it the next day and ordered two of the original Foundation Powders online.

You can still find it online at Sephora, although two colors are out of stock right now. All shades are sold out on the Laura Mercier website.

If you have tried the new powder and love it, I'm genuinely happy for you. I wish it worked as well for me. If there is anyone reading this who has anything to do with Laura Mercier, please, PLEASE, PLEASE do not let this product be discontinued!!!!

If you know of a product that is as amazing as the original LM Foundation Powder, please let me know. I will be looking for a new one after the two compacts I have run out.

6. Batiste Dry Shampoo $8

 
I try really hard to go a couple days between washing my hair. Some days it's just not possible, but other days, this product is a life saver. It seems like I've tried a million dry shampoos, but this one has definitely been the best I've found. It actually makes my hair look clean, whereas others have only left a nice smell and didn't make much of a difference in how oily my hair looked. However, I won't get this particular scent again. It makes me think of a bathroom freshener. Not necessarily a bad smell, but I don't want to smell like a bottle of Glade, either.
 
7. Devacurl AnGEL (now known as Devacurl Light Defining Gel $18.95 for 12 oz.)
 
 
I have used this gel for years. My hair is naturally wavy/very loose curls. I always come back to this product after trying other curly hair gels or creams. It always makes my waves/curls look defined but touchable. It may make your hair feel SLIGHTLY cruchy, but a couple of scrunches and the crunch is gone. It is actually made to work that way. It forms a "cast" to enhance each curl. It doesn't leave any residue or flakiness in your hair. I always buy this from Ulta when I get one of the coupons in the mail.
 
 
I highly recommend any of these products. Let me know if you try them and what you think!


Thursday, October 24, 2013

It's a Wrap!


This will be a super fast post on today's arm candy. I'm out of town visiting family, and have missed blogging! 
What in wearing: Kate Spade bow ring, Fossil tortoise she'll watch, Pandora wrap bracelet, and a gold beaded wrap bracelet I bought at a local botique back home. It's not looking like I can add links from the Blogger app, so I'll go back and add them later!

And one more picture...Norfolk, VA is seriously gorgeous!

So blessed to be spending time with family and exploring this beautiful town!

Sunday, October 20, 2013

What's in my Carry On? Road Trip Edition

I've watched a million "What's in my carry on?" videos. All of these I have seen have been in preparation for a long flight on a plane. Doesn't anyone travel by car anymore? I love to fly, but sometimes it's just not practical. The car ride is half the fun of a road trip!
 
I'm leaving early in the morning for a week long trip...and yes, we are DRIVING there! A whole thirteen hours! The whole "carry on" concept still works for a car ride, so I've created a road trip edition. I still like to take things with me to help pass the time while I'm counting down the hours.
 
Instead of what I'm wearing to the airport, this is what I prefer to wear on long car rides. Obviously when you're looking at 13 hours, comfort is #1. I can't stand wearing jeans or anything I would be constantly pulling at.
 
 
The pullover is from the StitchingDesigns shop on Etsy. I was so happy with my experience with them! My order came earlier than expected and just as I ordered. I will definitely purchase from StitchingDesigns again! Under the pullover I'll wear a gray t-shirt. For me, yoga pants are a must. These are from the GapFit line and are super comfy. My Chuck Taylor's in Beach Glass are perfect to slip on and get out the door!
 
 
The "carry on" I'll bring is in addition to my usual purse. I almost always use one of my Longchamp bags. Yes, everyone has one. Yes, they are pricey. But for me, it was totally worth it. I have gotten a ton of use out of this bag, and it really is the perfect carry all. We plan to leave at 5 AM, which means there is no way I will wake up and put on a full face of makeup to go back to sleep in the car. This purple Sonia Kashuk makeup bag is my new favorite. It's the perfect size! The zipper pouch on the front is perfect for makeup brushes. Once we've been on the road a while and I've had a chance to wake up, I'll do my makeup in the car (not entirely safe, I know). I can't go anywhere without reading material, so I threw in a Glamour magazine and my iPad where I have other magazines downloaded. My pink Moleskine notebook is always with me. I'm constantly making lists or writing something down. A car charger is an obvious must have. I also included my camera and the battery charger, as well as my jewelry (in the white container) in case I decided to throw some on later. I'm obsessed with the KOR water bottles and try to have one with me at all times. I'll also have my sunglasses and ear buds (we don't all have the same taste in music), but I keep those in my purse!
 
 
What are your must haves for road trips?
 

Saturday, October 19, 2013

Work with What You've Got

I know I'm not the only girl out there who lopped off several inches and went for the angled bob. Don't get me wrong, I have loved the haircut. I've never been one to get too attached to my hair. I grow my hair pretty long and chop it off about every year and a half. Lately, I've been missing my long hair a bit more than usual. The main thing I miss is the limitless styling options of long hair. One of my favorites is the topknot or any kind of updo. So one night, I started playing around and came up with a super easy way to get a full looking updo/topknot for shoulder length hair. We are talking five minutes easy.


What you need:
  • bobby pins
  • hair elastic
  • hair spray
 
What you do:


NOTE: This seems to work best with hair that has a little bit of texture to it. I have tried this when my hair was straightened, and it did not turn out near as well. Air-dried hair (mine is wavy) worked a million times better for this style. Try a texture spray if you have straight hair before you start this one.
 
1. Pull hair up high, like you're putting it in a ponytail. Only pull it half-way through, leaving a loop. Let any sections too short to stay in the ponytail fall. We will pin that up later.
 
2. Pull pieces of the loop forward, hiding the elastic, and pin it down. Try to catch a bit of the elastic in the bobby pin; this will help it stay.
 
3. Pull pieces of the loop down, and pin it into place. Again, try to catch some of the elastic in the bobby pin. Keep pinning sections of the loop around the elastic until you're happy with how it looks.

 
4. Gather the hair that fell from the ponytail. Twist it together and pin it up. You may still see the bobby pins, but that doesn't bother me. If it bothers you for them to be visible...sorry.  I haven't found a way to hide those pins that hold the too-short pieces yet! If you know a trick, please share it with me! Give the bun a little hairspray and you're good to go!

If you try it out, let me know how it works for you, or what worked better!

Thursday, October 17, 2013

Get Organized with May Books

After many, many years, the search is over. I have found the perfect planner! May Books is everything I dream of: the exact layout I want (month view and week by week view), the perfect size, thin, lightweight, and completely customizable. I just wish I had discovered May Books sooner! At $22, the price is just right, too.

I got my current planner in February. I chose the Rose Teal print, "Name Plate" Background Shape in mint, and my name on the cover in "Handwriting".

 
The inside is what really sold me on this one. It's exactly how I would design the layout myself. This is the month view. The month views are spread out throughout the planner with the week views between each month. For some reason, I can't stand when all of the months are crammed together in the front and the rest of the planner is pages of week by week views.
 
 
The weekly pages have just the right amount of space to write in anything I have going on in detail. If it's a really busy day, I'll use post-it notes to add lists to stick to the pages. 


I love the size. It measures 5x8, making it the perfect size to throw in your purse or school bag without weighing it down. There aren't loads of extra pages with maps, calculations, or other random things you won't really use, stickers, dividers, or pockets. This is what I like about this planner: simplicity. I honestly cannot see myself ever using any other planner. Now that it's getting closer to the end of the year (how did that happen?!), I've been playing around on the website trying to decide which designs and colors I want for my next May Book. Let me know if you have any coupon codes for May Designs!
 
Check it out for yourself at http://www.maydesigns.com/. You can also customize pregnancy planners, wedding planners, newborn baby journals, address book, meal planners, and loads of other options!
 
What is your favorite planner? Am I missing out on another amazing agenda?

Tuesday, October 15, 2013

The Cat's Meow

The cat eye is such a chic, timeless look.


Audrey Hepburn, Brigitte Bardot, and Sophia Loren are three of my favorite classic beauties known to sport this look.
 
Good news: It's easy to get!
 
Here are my tips and tricks to get the perfect cat eye. I am by no means an expert, but this is what I have found works for me. I usually go for a more wearable "kitten" eye, but you can customize it to look how you want! Make the lines thicker or draw a more dramatic flick at the corner of the eye for a bolder look.
 
 
What you need:
  • Eyeliner: I used Maybelline's Eye Studio Lasting Drama Gel Eyeliner. Another great option is Stila's Stay All Day Waterproof Liquid Eyeliner. The Maybelline gel liner comes in a little pot with a small brush, whereas the Stila liner is more like a super thin marker. I prefer the Maybelline liner for the simple fact that it dries to a matte finish. The Stila pen dries super shiny. If you like the shiny liner look, go for the Stila! Both are easy to work with, don't smudge, and last all day.
  • Mascara: I used They're Real! by Benefit.
What to do:
 

1. Draw a line across the entire lid. I used the little brush that came with the gel liner, but you can use any liner brush. Make it as thick or thin as you like.

2. Draw an angled line pointing to the end of the eyebrow. This will roughly be the length the "flick". Again, this is personal preference, and don't worry about getting is just perfect. You can make it longer in Step 4 if you decide to do so! I find that it's easier to make it smaller than you think you want, then go back and make it longer. It's easier to add liner than deal with trying to take some off with makeup remover and risk messing up the whole thing!

3. Connect the end of the flick with the line going across the lid, creating a template.

4. Fill it in! You can make any changes you want on this step. Creating the template serves as a guideline. I almost always go back and make the flick longer or the line across the lid thicker. The trickiest part is matching the liner on both eyes. Using the end of the eyebrow as a guideline for the flick helps to get the liner even on both sides. Now add mascara and you're good to go!

One more tip: Don't get too much liner on the brush at once. It will blob on your eyelid and make a mess!

Other options:
  • Add liner across the bottom lid. A little or a lot!
  • Line all around the eyes for a super dramatic look.
  • Don't be afraid of color! Try an eggplant or navy blue.
  • Add a little contour. I did some very subtle contouring before adding the liner. I used a light gold with a brown shade in the crease and blended it out for just a tiny bit more definition.
  • Try adding false lashes. Obviously this might be a bit much for daytime, but for a night on the town, adding a few falsies on the outside corner of the eye and in the middle will really make the eyes pop!


Experiment and see what works best for you! What are your favorite tricks to getting the perfect cat eye? I'd love to hear!


Saturday, October 12, 2013

My beauty favorites for fall! (And a spotlight on Maybelline's NEW Color Elixir Liquid Color Balm)

These are some of my favorite kinds of posts to read and YouTube videos to watch! I think it's about the thrill of the chase...I'm always on the lookout for the ultimate product! When I think of fall makeup, I think of warm colors like gold, army green, and cranberry. Here are my picks to try out this season:
 
(P.S. Bear with me on the picture quality! I don't have the fanciest camera, but I think you can get the idea with these pictures!)

1. Maybelline's NEW Color Elixir Liquid Color Balm
Colors from left to right: Caramel Infused, Rose Redefined, and Raspberry Rhapsody
 
Can we just talk about the packaging for a second? I am a huge sucker for cute packaging, and these instantly caught my eye. They look like clear lipstick tubes and the colors are seriously stunning (there are 20 to pick from!). There is every color from nude, to pink, to dark purple, to classic red. I want them all! Here's the thing though...the packaging is a trick! It really is a tube of lip gloss!


Maybelline describes it this way: "A trio of concentrates delivers the color of a lipstick, the cushiony care of a balm, and the glass shine of a gloss". I'm seriously loving these babies! I had to limit myself to three, and I love all the colors I ended up choosing. Caramel infused is a really nice, neutral with a (obviously) caramel color. Rose redefined is a beautiful pinky rose that I think would look great with bronzy or neutral eye. And my favorite...Raspberry Rhapsody. This color is a purple toned berry. So pretty. As for the texture, I give them an A+! It's just right. Moisturizing without being thick or tacky. These balms are crazy pigmented and provide an awesome punch of color. Since they are a balm, the color doesn't last forever, but it doesn't bother me to reapply a few times in the day. Try these out ASAP!
 
2. Milani Baked Blush in Berry Amore


I love the Milani baked blushes. Luminoso is another all time favorite of mine, but this season calls for a berry flush across the cheeks. Not only are these pretty to look at, but these blushes have a subtle shimmer that creates a glow without using highlighter. Berry Amore is the perfect color to try right now!
 

 3. Revlon Lip Butter in Raspberry Pie

 
A berry colored lip is my favorite trend of the fall. Revlon's Lip Butters are all amazing, but Raspberry Pie is a gorgeous berry (duh) color, and the super moisturizing formula feels good on the lips!
 
4. MAC's Eyeshadows in Sketch and Sumptuous Olive 


Let's talk about eyes. Sketch is a plum/cranberry with a tiny bit of sparkle. This one looks awesome on every eye color! I have only used this as a crease color with a light gold, champagne, or light pink for the lid color. All That Glitters or Naked Lunch work nicely! Sumptuous Olive is one of my favorites. It is an olive green laced with gold. SO pretty! You can wear this on its own or pair it with a brown shade in the crease. I think this color looks best on brown eyes. If you're a brown eyed girl and don't have this in your collection, pick it up next time you're at a MAC counter!
 
5. Urban Decay Naked 2 Palette


The infamous Naked Palettes. I use this year round, but I'm including it in my fall favorites for the number of looks you can create with this palette. Honestly, I almost regretted buying this one. I already owned the original Naked palette, and still love it dearly. When I got this one home and compared the two, I was a little disappointed at how similar the two palettes were. I kept it anyways, and experimented with different color combinations. Now, I reach for this palette more than the original. My go-to combination is Half Baked on the lid and Snakebite in the crease.
 
6. Nail Polish!
 
Left to right: Essie Sand Tropez, Revlon Fall Mood, OPI You Don't Know Jacques, Revlon Rich Raspberry, Revlon Bold Sangria, and Sally Hansen Navy Baby
 
I admit it. I have a problem. I have a serious addiction to nail polish. It's embarrassing the number of bottles I own. These are my six favorite colors to get neutral, metallic, berry, or bold nails for the fall!


Okay, that's it! I'd love to know what you think of any of these products and hear your favorites for fall!


Beauty...as defined by me.

For my first ever blog post, I wanted to share how I define beauty (and why I'm obsessed with it).

First of all, beauty is not having the perfect hair, skin, makeup, or clothes. Perfection is boring. To me, imperfection is true beauty. Different is intriguing. I truly believe that those things that may not be our favorite features are the very things that make us exquisite and beautiful creations of God. He makes no mistakes.

Beauty surrounds us. It's in the way water runs through a creek, the way the wind blows leaves in tiny tornados, the masterpiece of colors painting the sky every morning and night, the ebb and flow of the sea, the pattern of clouds swirled across the sky, the rain falling to the earth, sun rays shining through tree branches. It's in the sound of a baby's laugh, waves crashing to shore, crunching of crisp leaves underfoot in the fall, a roll of thunder, the chirping of crickets at night in the summer, music. Beauty encompasses so much more than physical appearance. Take the time to notice it around you every day. Thank God that you are able to see, hear, and experience all these things. We take it for granted all too often.

Again, I want to emphasize that beauty is not about physical attractiveness. It truly is about learning to love and accept yourself as you are. It's okay that not everything about you is your favorite feature. Accepting that you are not perfect (and never will be) is an amazing, freeing experience. Don't waste your time trying to fit into someone else's idea of what makes a person "beautiful". Embrace what you have been given. Being completely honest, this is something I had a real struggle with for a very long time. There were things about my physical appearance I completely despised, and I wasted way too many moments of my life wishing I could change how I looked. Now that I am older, I have learned that those things I so badly wanted to change are the things that make me who I am. You couldn't pay me to change those things now. I am not perfect in any way by any stretch of the imagination, and I'm definitely not claiming to be. What I want every person to experience is the beauty of loving yourself the way God made you.

Having said all that, I don't think there is anything wrong with trying to look your best or wanting to emphasize your lovely features. This is where my obsession with makeup comes into play. I love to play around with makeup. You can be a carefree beach babe one day, and a sultry vixen the next. Some days I love to wear a cat eye, and some days I like to try out a bold lip. Don't be scared to try something out of your comfort zone!
At the same time, I believe it is easy to become dependent on makeup to feel confident. Don't let yourself fall into that trap! Learn to be confident in the amazing person you are.

This is a place I created to share my love of all things beautiful (but especially makeup and clothes!). I hope you like to read about it as much as I like to write about it!

Alyssa