
What you need:

- Base coat. Here I am using Gelous Nail Gel. You may have seen this all over Pinterest. Most posts include this product in a tutorial explaining how to get "gel nails at home". I've tried following these tutorials, but I wouldn't say you should expect to get the thickness of a salon gel manicure. Even after layering this underneath and between two coats of polish, I still didn't notice the finished look appearing any different than my normal method. It does work well as a base coat. I will use it up but probably not buy it again. You can find it at Sally's Beauty Supply.
- Color. Use anything you want! I will be in a wedding this weekend, and the bridesmaids are using Essie's Sand Tropez. It's also an awesome neutral color any time of year.
- Top coat. Seche Vite Dry Fast Top Coat is my absolute favorite top coat. It dries crazy fast, hardens your nail polish in no time, and leaves nails looking super glossy. I've tried the Sally Hansen fast dry top coats but have found I always get bubbles in the polish. I'd spend the extra few dollars on the Seche Vite.
- Cuticle Remover. Sally Hansen got it right with this stuff. Easy to use, very effective.
- Cuticle Pusher. The one pictured is the Sally Hansen Push-n-trim Cuticle Groomer. I just found this little tool and am obsessed with it! I was previously using a metal one, but it would sometimes scrape my nail and be a little too harsh. The handle is rubberized for a comfortable grip, and the pusher end is made of plastic, so it is much gentler on the nail. The other end is a V-shaped trimmer, but I don't use this end. I highly suggest this one in particular!
- Nail file. My favorite nail files are made my Revlon. They do not make my nails peel, chip, or flake. In the step-by-step pictures, I am using the long Revlon nail file. I usually use the mini "Box o' Files". The files are smaller and easier to use, in my opinion. I just couldn't find them when I was doing my nails today!
1. It does not matter if you do Step 1 or 2 first. Today, I started by using the cuticle remover. Squirt a small amount of the gel along the cuticle of each finger.

Let it sit for about a minute, and then use the cuticle pusher to push back any skin that has grown over the nail. This step is crucial! It makes a HUGE difference and really makes a manicure look professional. It also helps the polish last longer because it will adhere to the nail, not skin. Be sure to wash your hands after this step!

After:

2. Use the nail file to shape the nail to your liking. For me, I feel that the "squoval" shape is most flattering. For this shape, I like to file straight across, then round out the sides a bit. One important thing: always file in the same direction. Never saw back and forth. Wash your hands after filing to remove any "dust" before applying any polish.


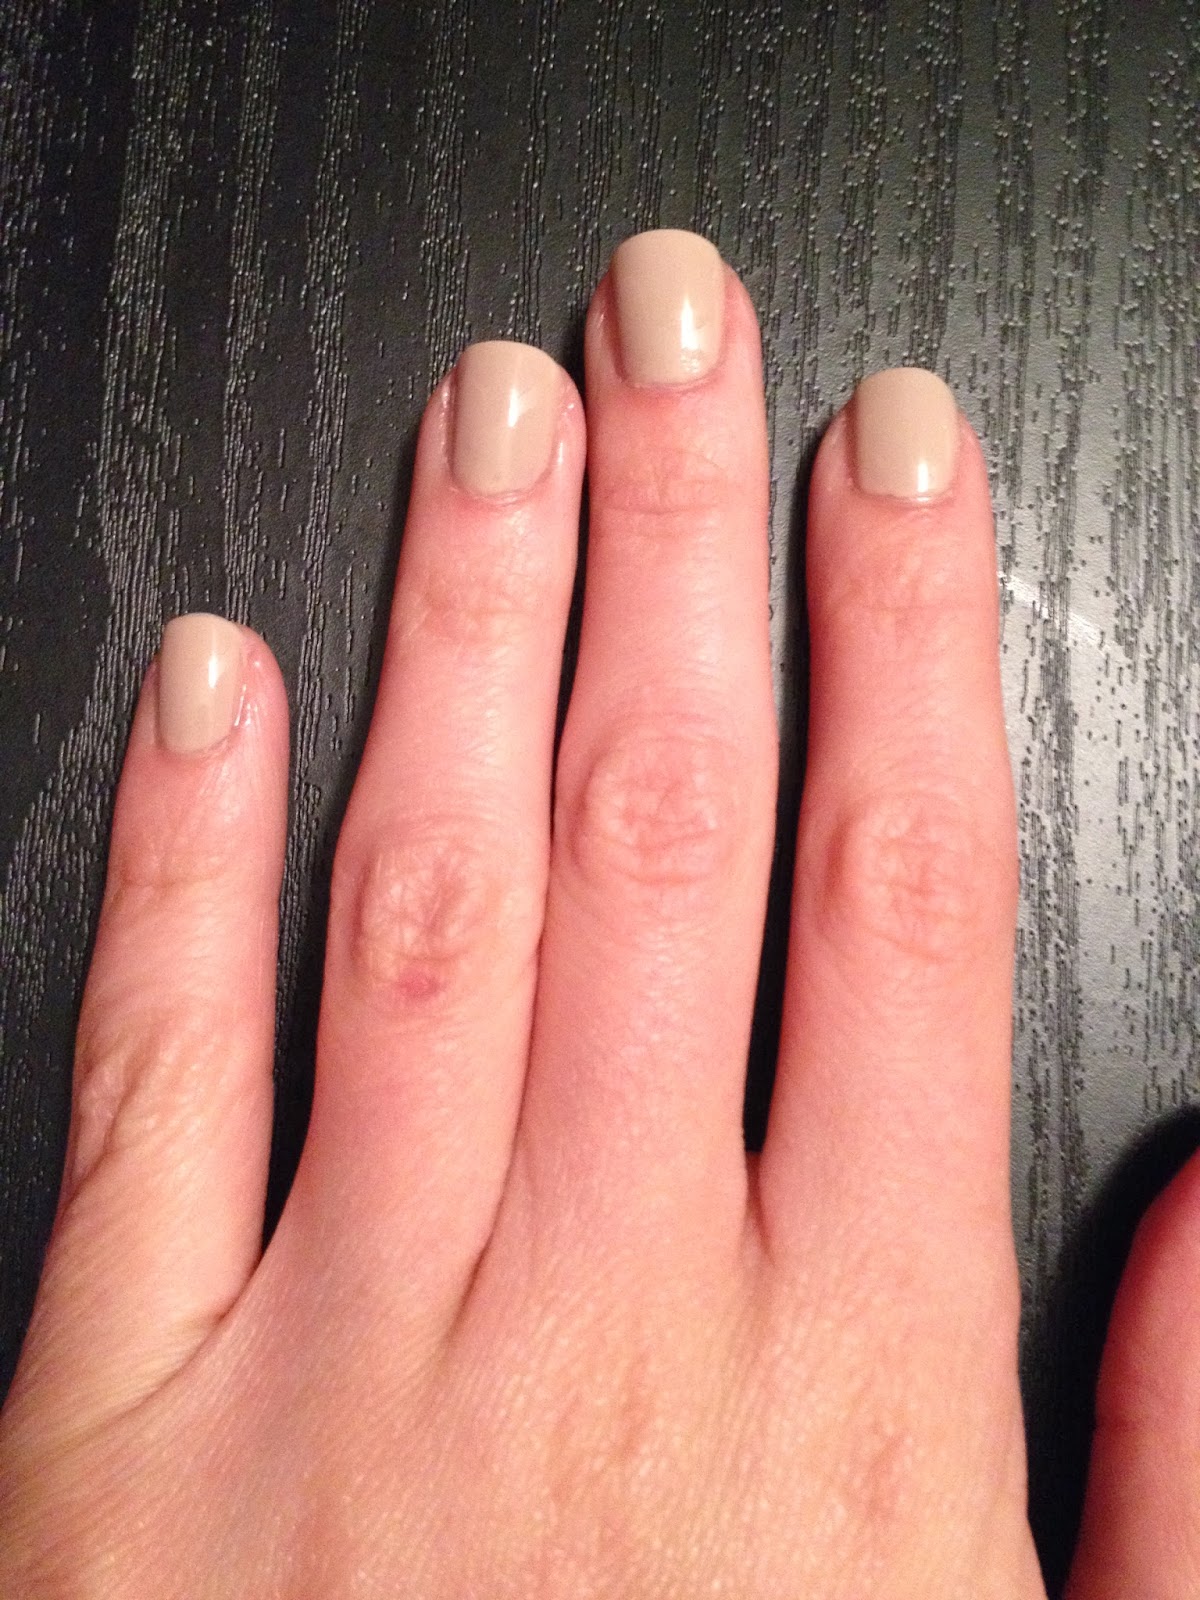
Finished look:

Not too different, just slightly more shaped.
3. Paint on a layer of base coat. I did not have a picture for this step. I felt that it was pretty self explanatory, and the clear color wouldn't show up too well on camera.
4. Use one THIN layer of color. It is very important to do a thin layer! This first layer of color will be the foundation for the rest of the polish. The second coat will go on much smoother if you use a thin layer. Take your time, and leave a small amount of space unpainted between the outside edge of the nail and the skin of the cuticles. It makes the polish look cleaner. Allow this about 5 minutes or so to dry. It should not feel tacky. Most people complain about painting their dominant hand. Yes, this can be pretty difficult! Don't rush, and keep practicing!

5. Apply a second coat of color. You can use a thicker layer for the second coat. Let this dry a little longer than the first coat. I usually end up letting this coat dry 15-20 minutes. If you need it, apply a third coat, and let it dry until it isn't too tacky.

6. Apply your top coat. After a coat of Seche Vite, my nails are usually ready to go in about two minutes tops!

Voila! Perfect nails at home! I hope you found this helpful!
No comments:
Post a Comment